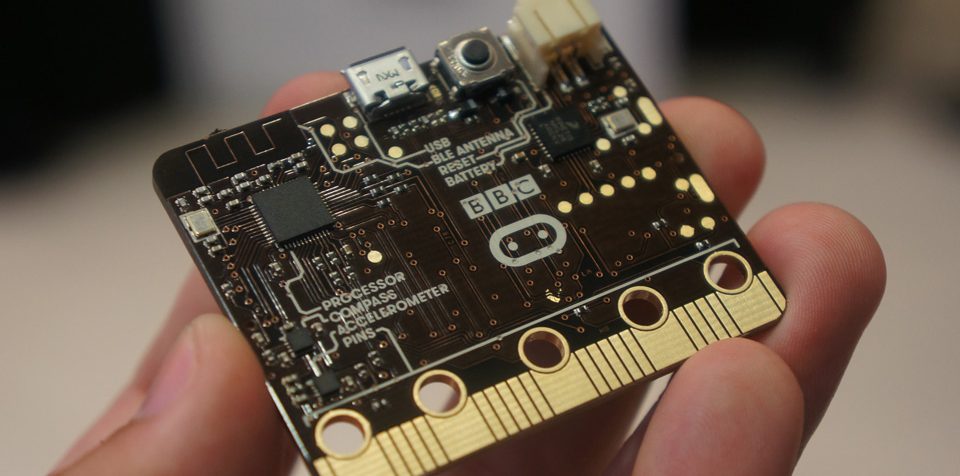
This website was created to show people how to program the Bit:Bot using MicroPython, when I created this website hardly any MicroPython examples existed. The examples are written in a way that both children and adults will be able to follow. I assume that you have no prior experience in both software or hardware design.
The examples are designed for the Bit:Bot classic and XL however they will work for other Micro:Bit robots, you may need to change the pin assignments but the core code will still work.
I have written all of the tutorials in MicroPython to help you grasp the concepts of a scripting language. It is a great first language to learn and a good starting point; although frustrating and messy at times. Please take the time to read the Hints and Tips section as this will tell you about some of the quirks of the language when using it with Mu.
The first tutorial is the easiest and the last one the hardest, work through the tutorials and mess about with the code. Change it and see how BitBot behaves; this is the best way to learn how to program. The tutorials should explain how each piece of code works.
You will install an off-line editor called Mu where you can create, edit, save and upload code to your Micro:bit and after you have completed all of the tutorials you will be able to make your Micro:bit and Bit:Bot do some pretty awesome things.
Once you figure out how it works I’m sure that you can improve on my code and get it to work in different and better ways. If you enjoy the MicroPython tutorials perhaps you could have a look at the more advanced examples using Arduino IDE. The main reason for this is that by using Arduino IDE we free up a load of memory on the Microbit because we don’t need to use the Micro:bits DAL (Library of code that enables features on the Micro:Bit). This will allow us to write complex code and fully utilise all of the Micro:bits memory.
Finally enjoy working though the tutorials and see how far you can get.
Good luck.
